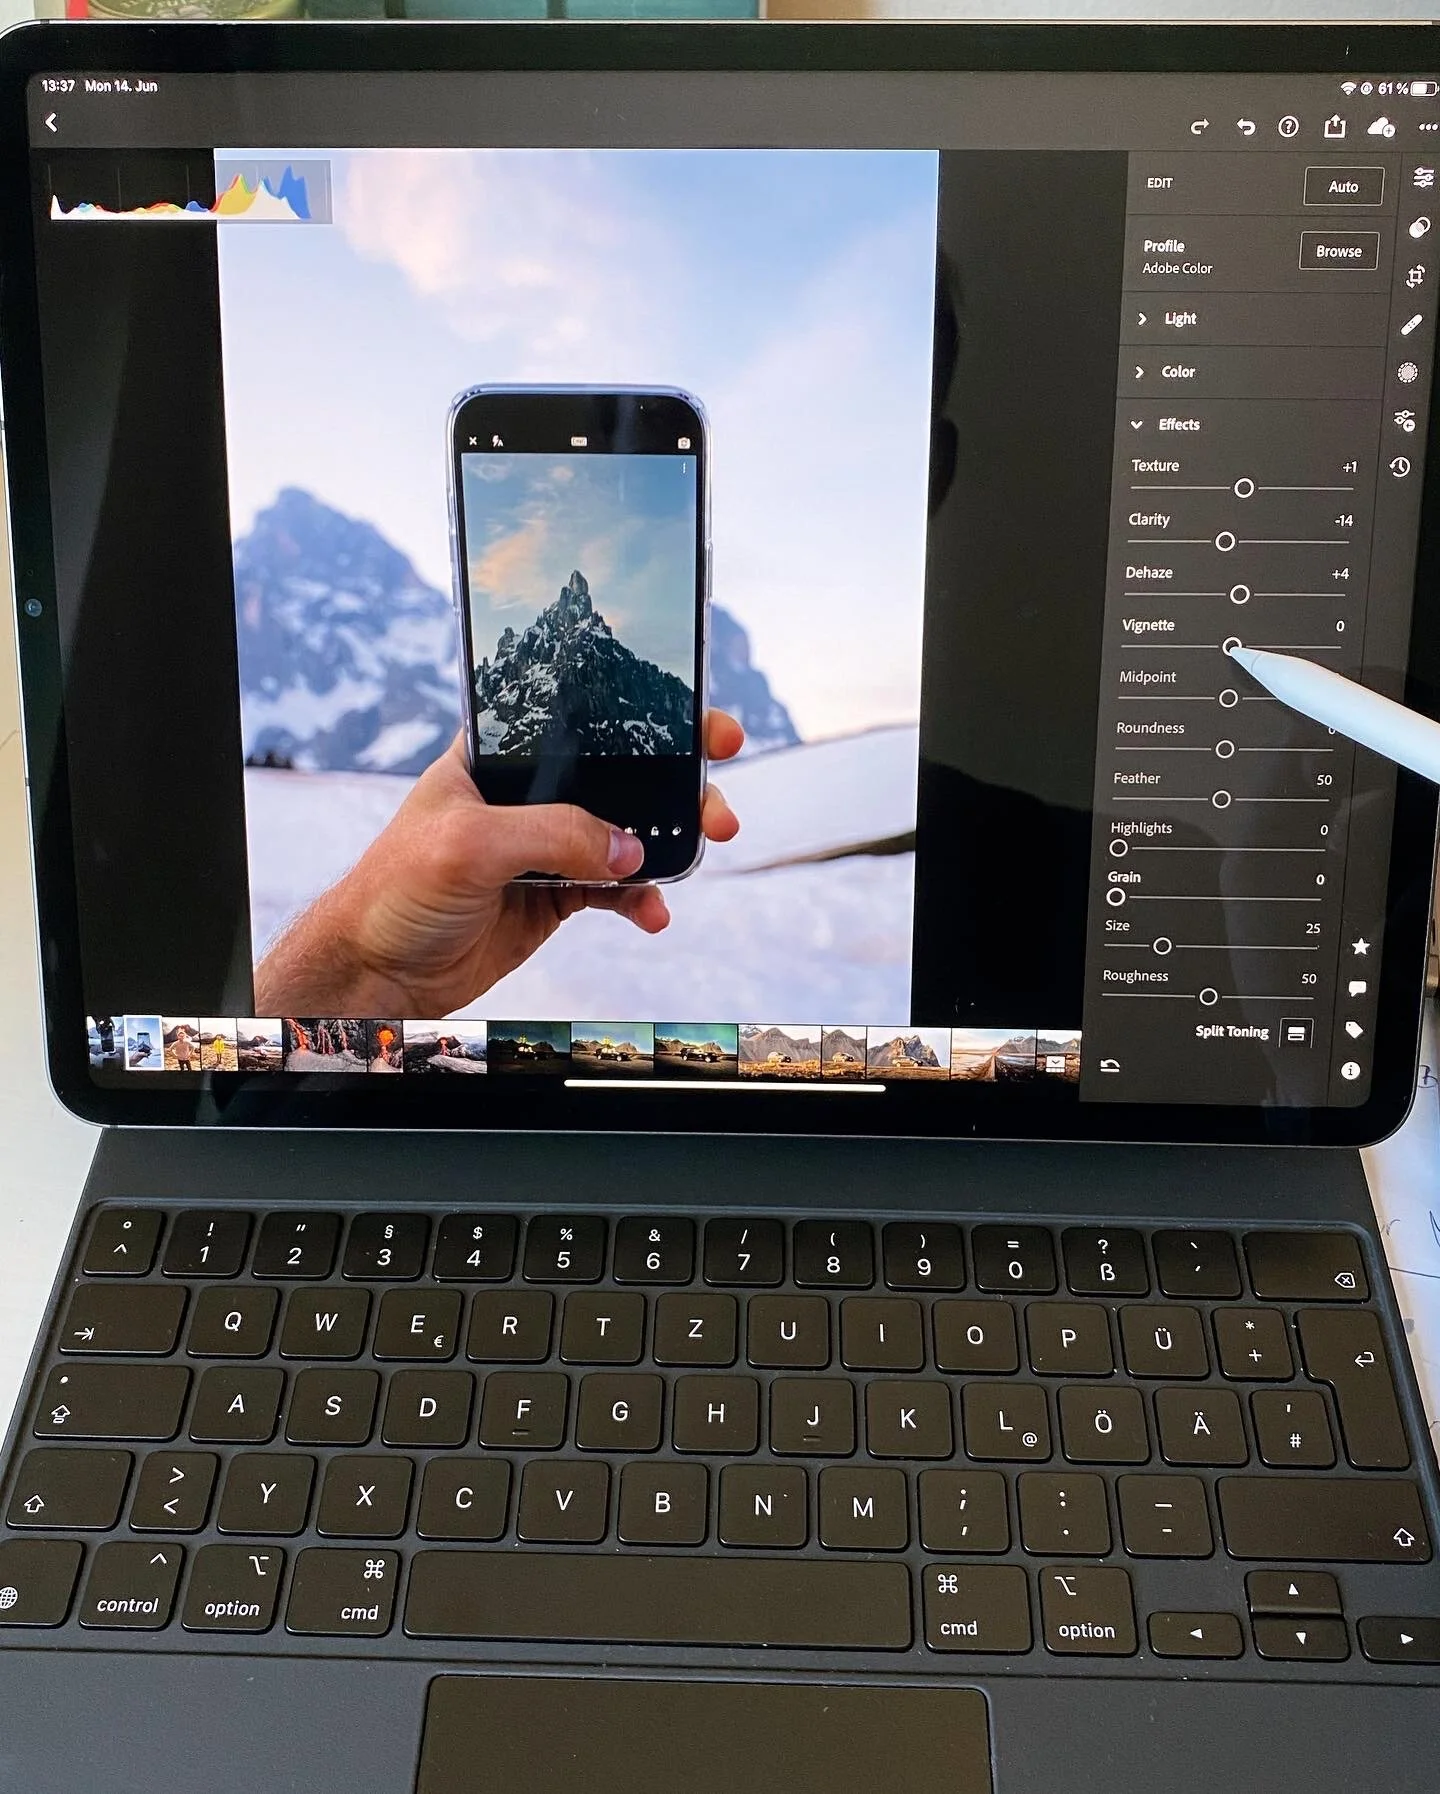
How to Create professional images like a pro with an iPhone/iPad - #ShotonIPhone12Pro
Welcome back on my Blog guys!
Today I have a special topic for all of you who are always telling me that an expensive camera makes the amazing images and only with RAW images from these cameras you can get out a proper edit. Additionally most of you are thinking that only with an expensive Apple Laptop or an iMac I have the ability to create great edits.
Instead with this blog article I want to show to all of you who only have a good phone camera like the iPhone 12 Pro/others and an iPad that its more then enough to create amazing RAW images and edit them like a pro.
Bild von den Bergen bei San Martino di Castrozza, Italien - unbearbeitet
Berge bei San Martino di Castrozza, Italien - bearbeitet und zugeschnitten am iPad Pro 12.9
The RAW image made with an iPhone 12 Pro. #shotoniphone12pro
A) Creating the RAW photo
First of all you have to wake up early for the sunrise or be late for the sunset at your desired location to catch the good soft golden light. Then put out your phone (best would be a good one like the iPhone 12 Pro with its great camera) and make a RAW image within the Lightroom CC App or with the built in Apple-RAW mode. Creating an image as a RAW will leave the picture with more informations within which is really important for getting a better result with your edit in Adobe Lightroom CC.
Then try your absolute best with the angles so that your happy with the RAW image itself.
B) Editing in Lightroom CC with an iPad Pro and an Apple Pencil
The second part is the edit which is I think most often the more difficult part. You can edit at home or in a nice cafe but do it where you feel really comfortable. Learning how to edit image properly I a process which needs a lot of time because you have to learn it by the trial and error method. I will show you within this blog article I edit a lot of my images and I will guide you through the process. In most of my images I will use the Adobe Lightroom Classic application for desktop but sometimes I also edit a lot in the Adobe Lightroom CC on the iPad or the iPhone when I’m on the way. At first before I start Editing with the image is cutting photo in the golden cut with the ratio 4x5 which is the ideal size for an Instagram post.
1. I start editing every image with a change of the tone curve. With that change the image will get a more contrasty look. The other tools will be mostly unused and only in case if its too dark I will brighten up the image.
2. The second step is correcting the white balance and in this special image I wanted to create a more yellowish and warm look. The other colors won’t get changed that much despite softening the blueish tones.
3. The next step is changing the overall look of the image to a softer version. I’ll create that effect with a De-Clarification of the image. The other tools won’t get changed that much. If you want to center viewers point of view then just add -5 to Vignette.
4. With sharpening, noise reduction and color noise reduction I always do it like I edited this image.
5. Last but not least after correcting the lens correction is working with radial filters. These are really a game changer and you should learn how to proper use them. They can change up your whole editing process. In this image I used a elliptical radial filter for powering up the sun light and on the darker side a line radial filter to darken the right side of the image.
Before Editing the image.
After Editing the image.
C) Export and AirDrop
After the whole Editing process I exported the image as jpg with 100 % quality.
Then I sent it to my iPhone 12 Pro via Air Drop and the image was ready to upload it on Instagram.
Thank you for reading my Guide and Stay Safe guys!
Luca


